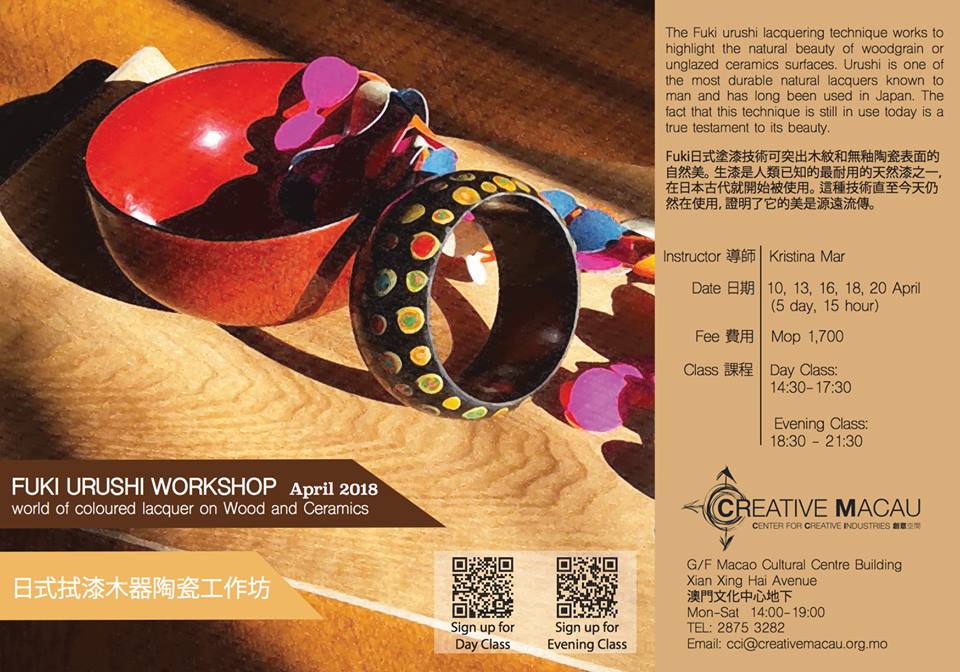
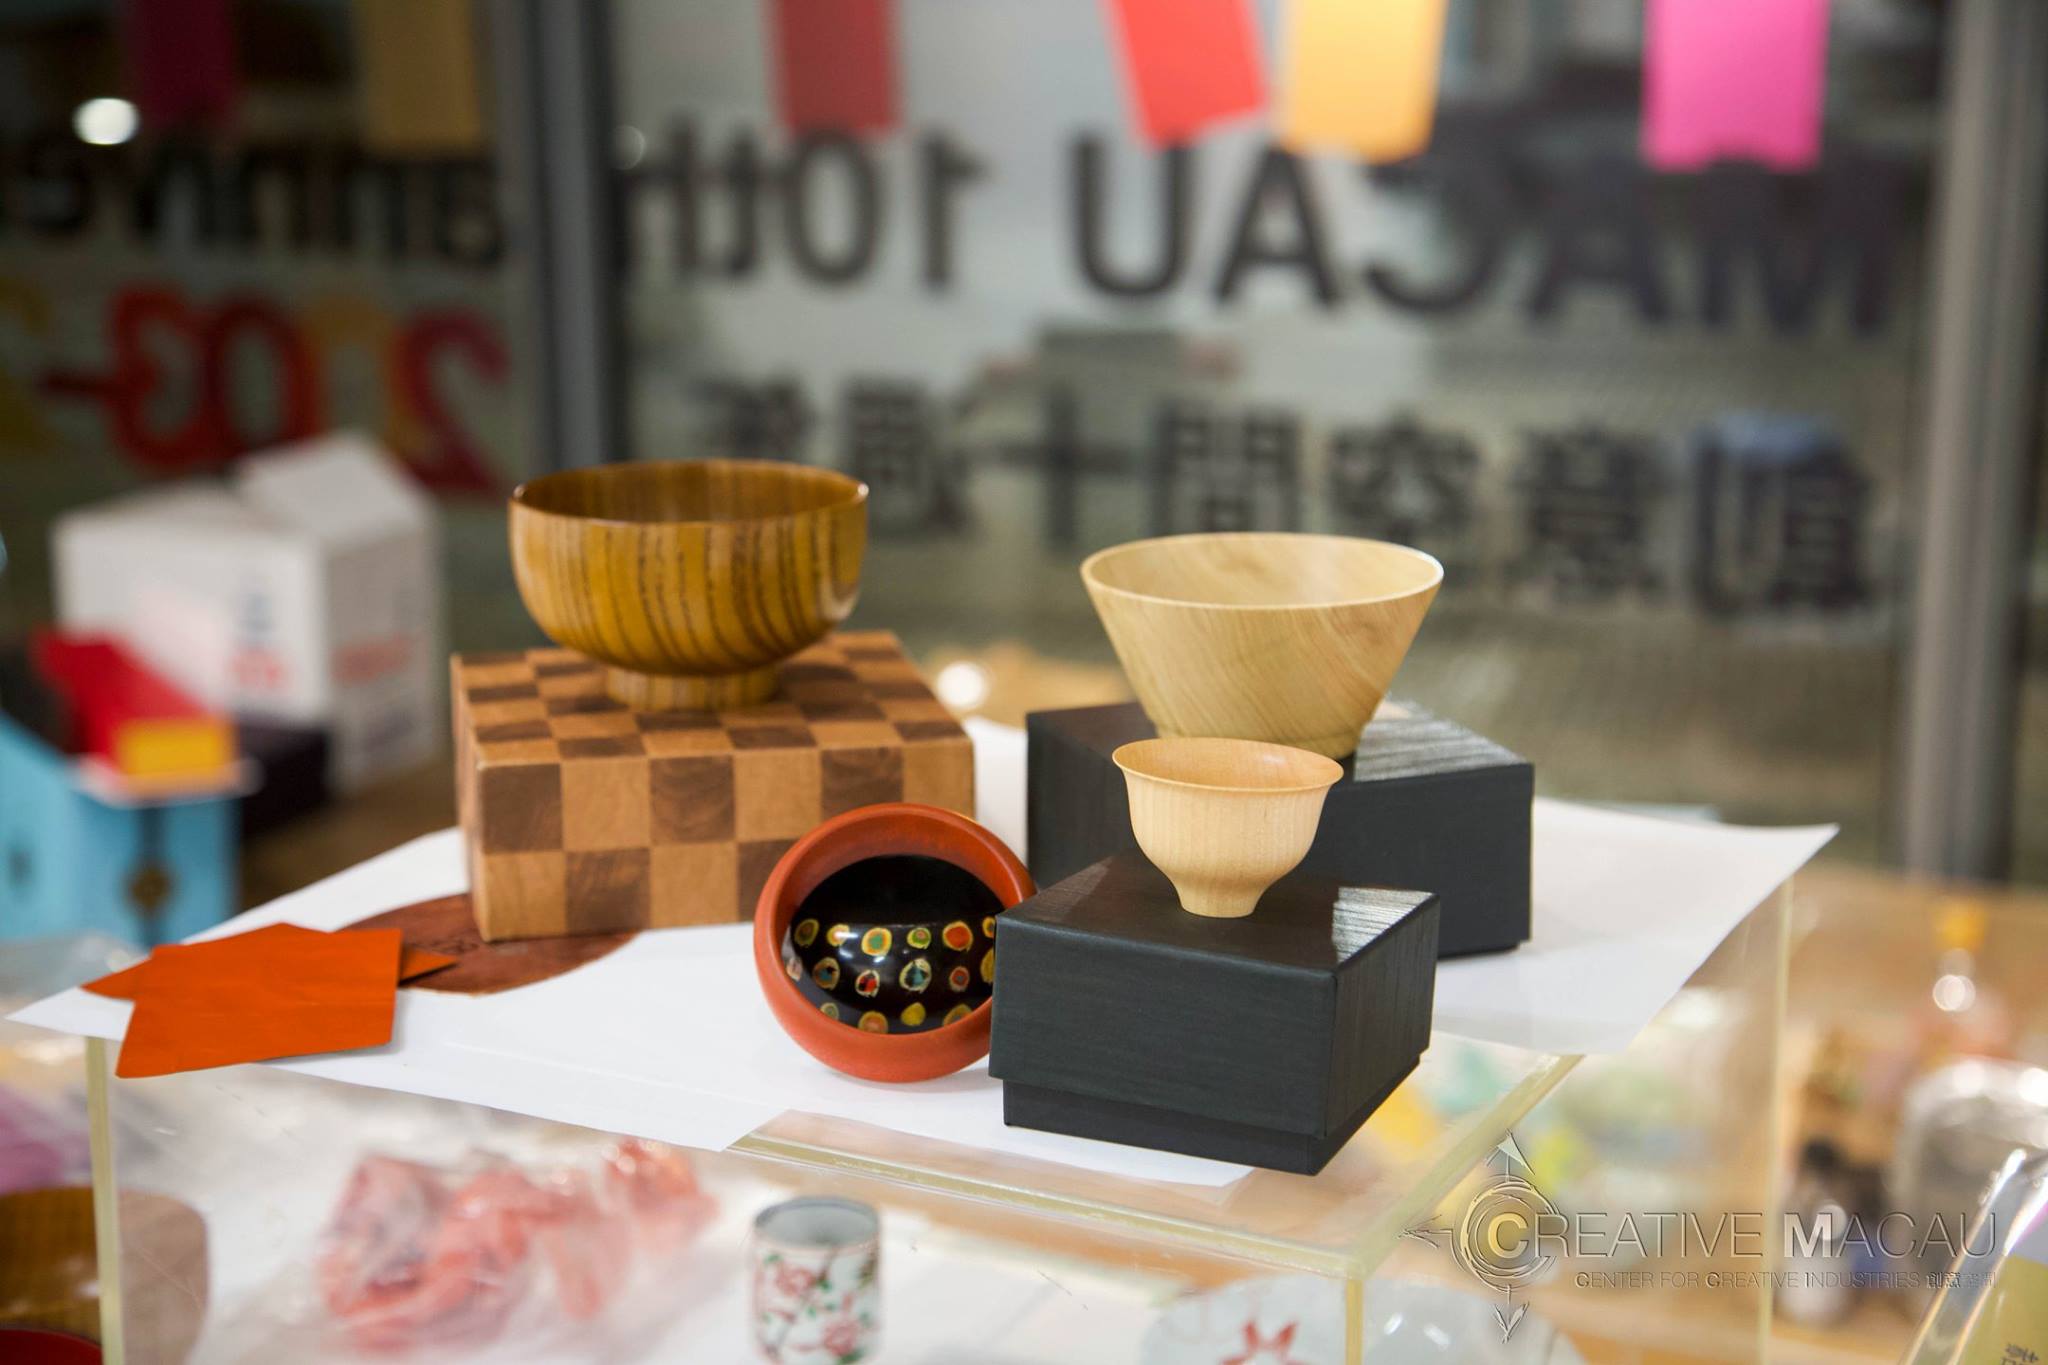
The Fuki urushi lacquering technique works to highlight the natural beauty of woodgrain or raw ceramic surfaces. In fact, urushi is one of the most durable natural lacquers known to man and has long been used in Japan. Urushi lacquered ornaments and objects have been discovered in Japan dating from the Jomon period, which was roughly 9,000 years ago. The fact that this technique is still in use today is a true testament to its beauty.
Participants will bring a wooden or ceramic vessel to cover or paint with Japanese lacquer, and covering it finally finish it by spreading and sanding. Attention will be done to details as this course will focus on more delicate finishings.
Fuki Urushi technique also can be applied to any object therefore that may be transformed into a new design pattern as a piece of art.
day 1
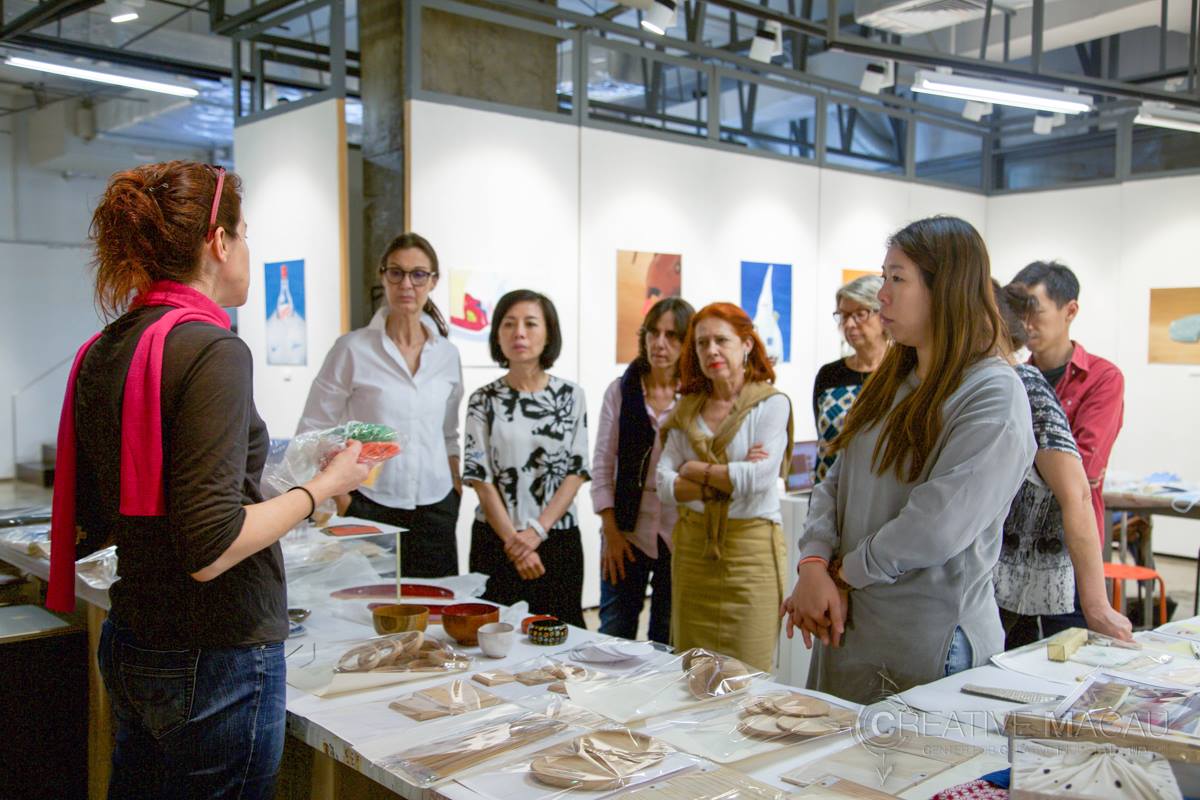
Slide show
Discussion about Japanese lacquer Urushi : applications on wood and ceramics of fuki urushi, possibilities and restrictions. Focus on attention to details and issues of resistance and durability of the natural urushi laquer.
Personal projects discussion and prepare personal objects for mending.
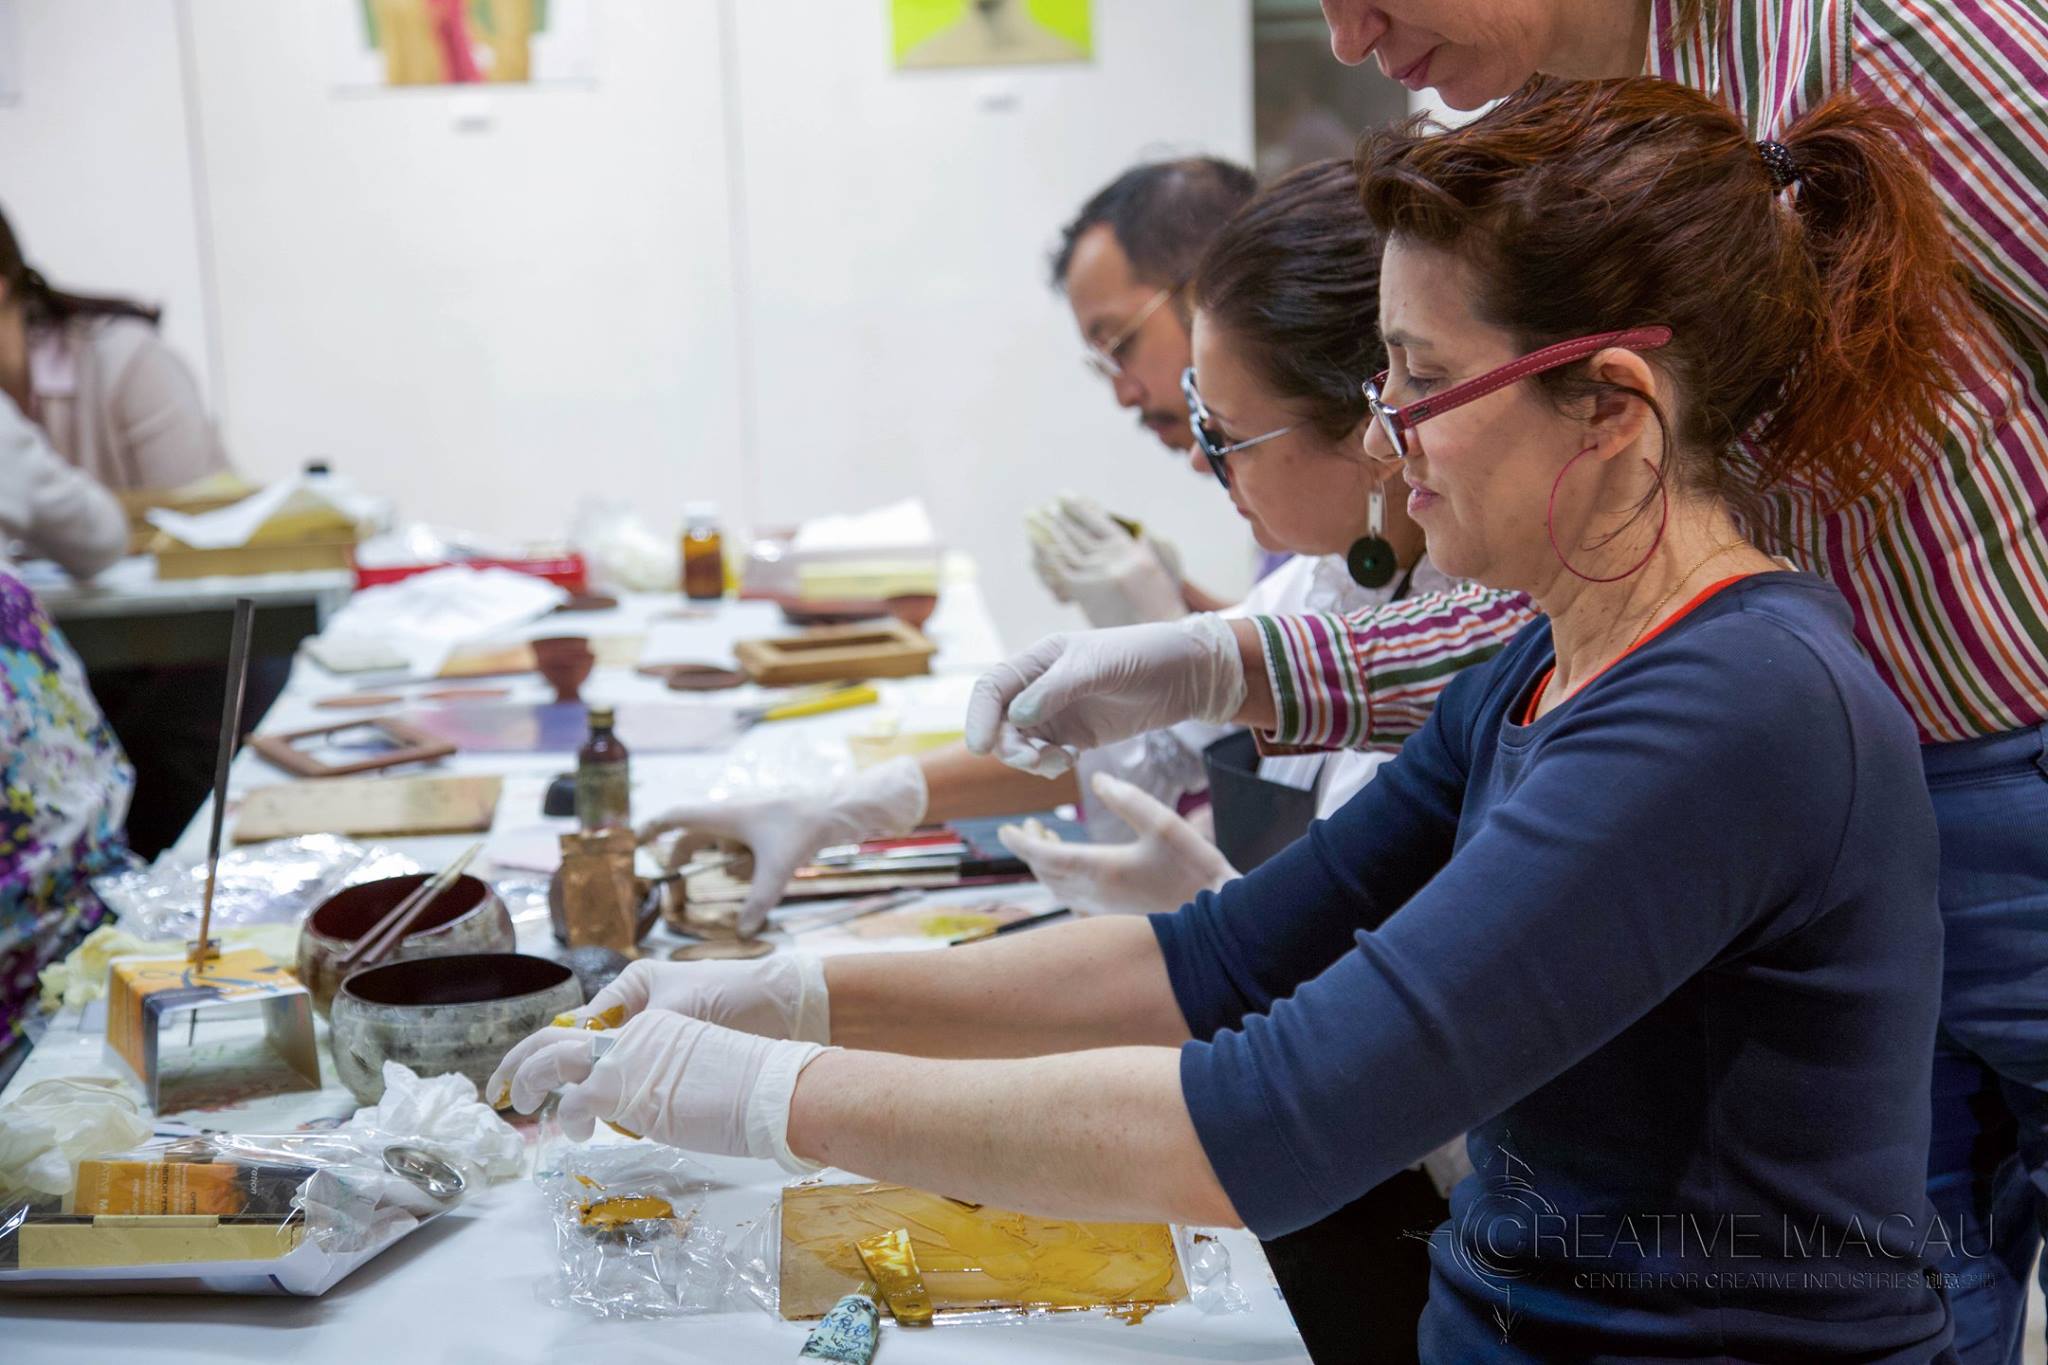
Start with personal objects.
1.Study the pieces to evaluate, This phase is very important as this decisions will became esthetically very much also a part of the piece.
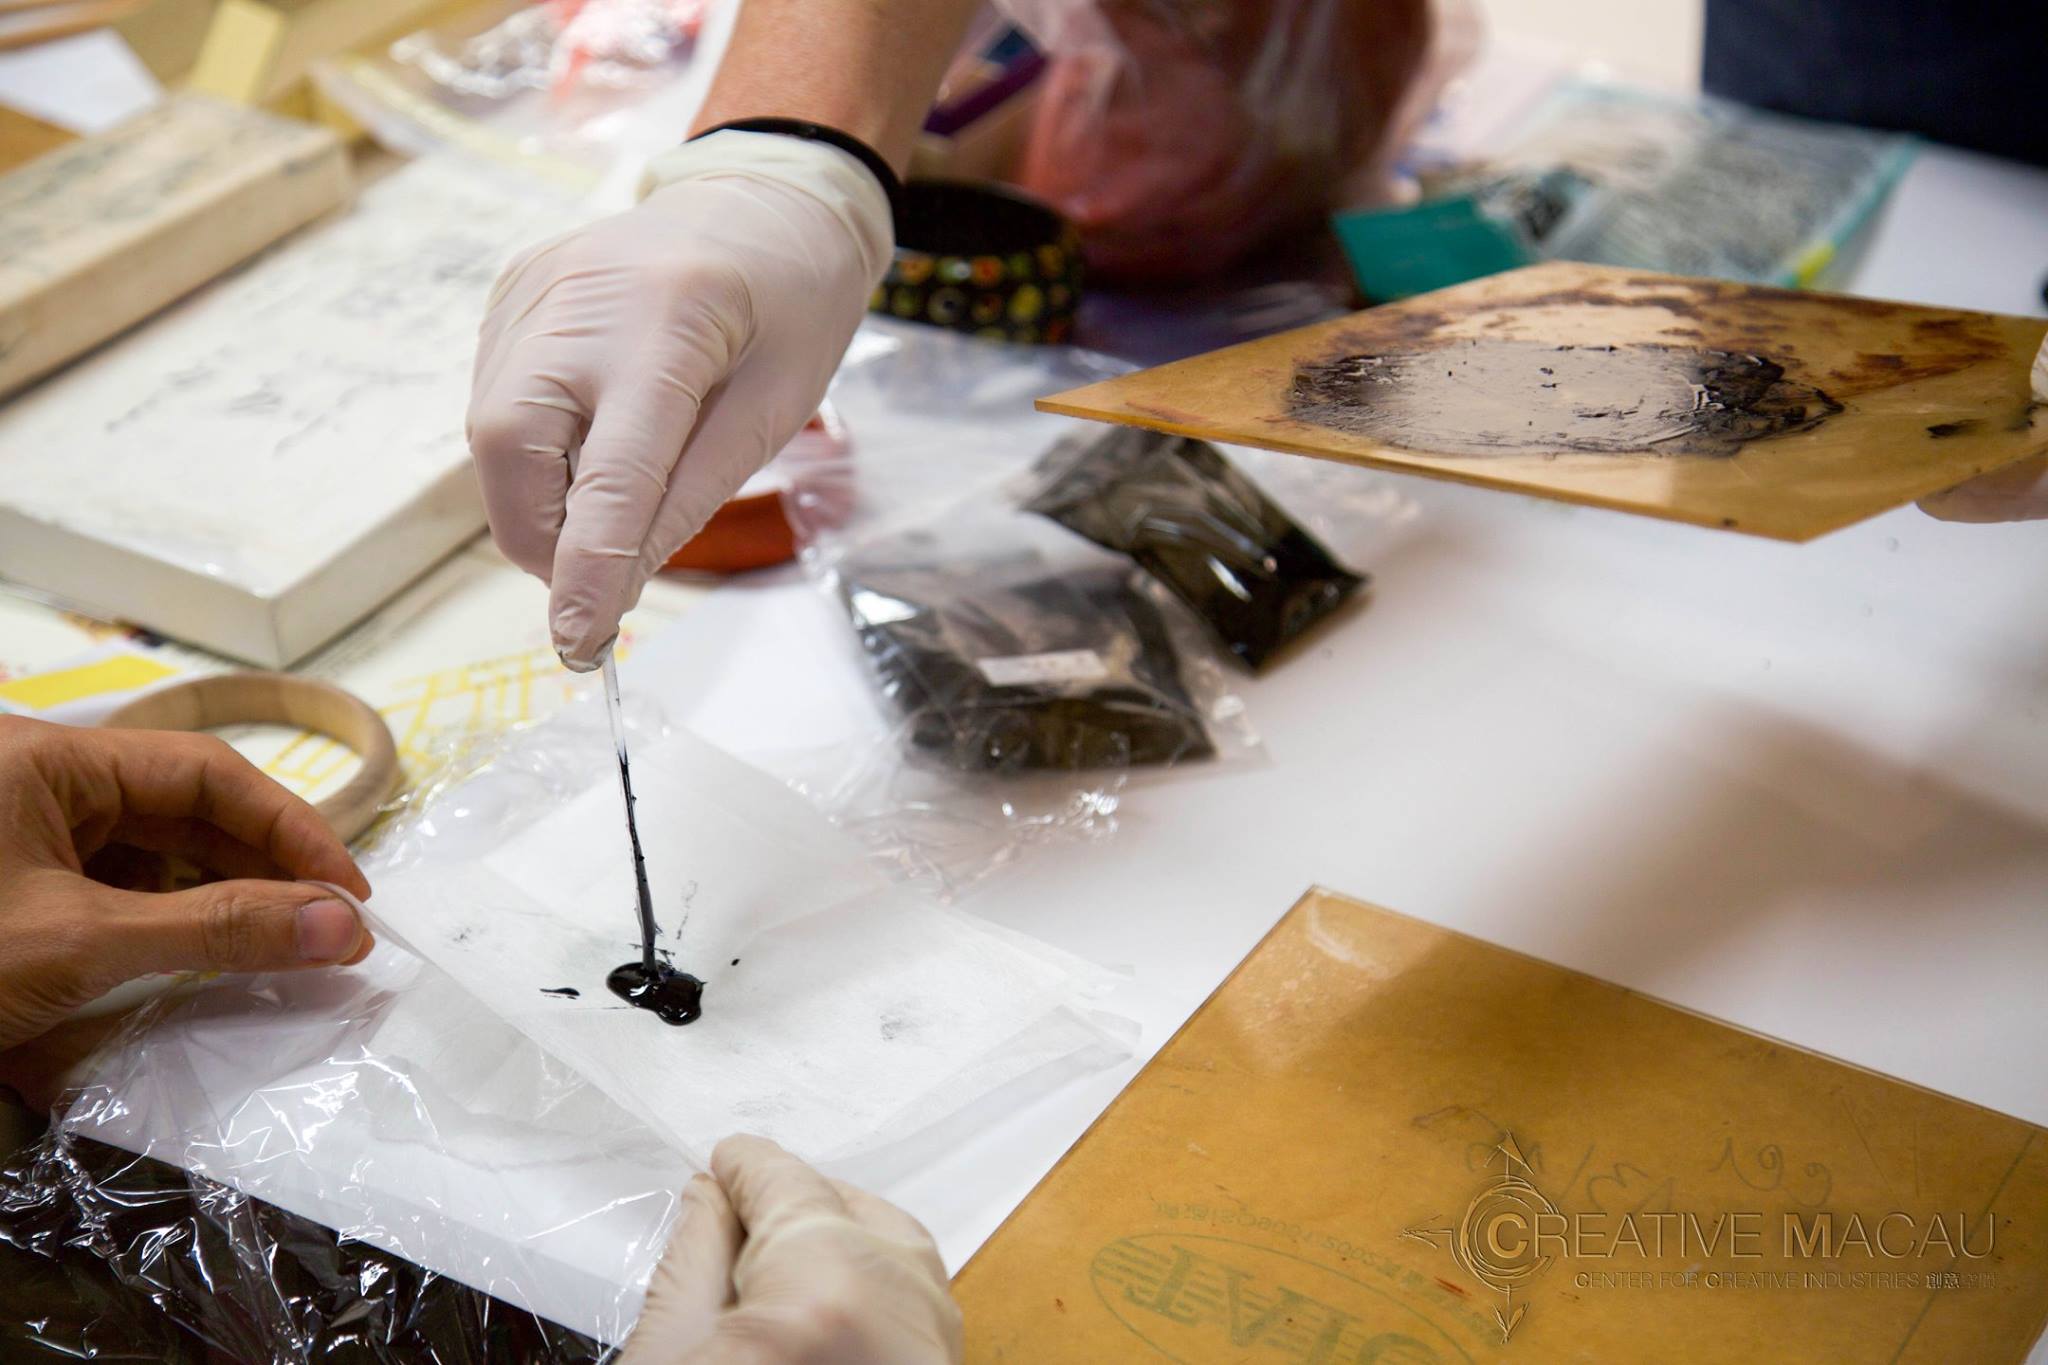
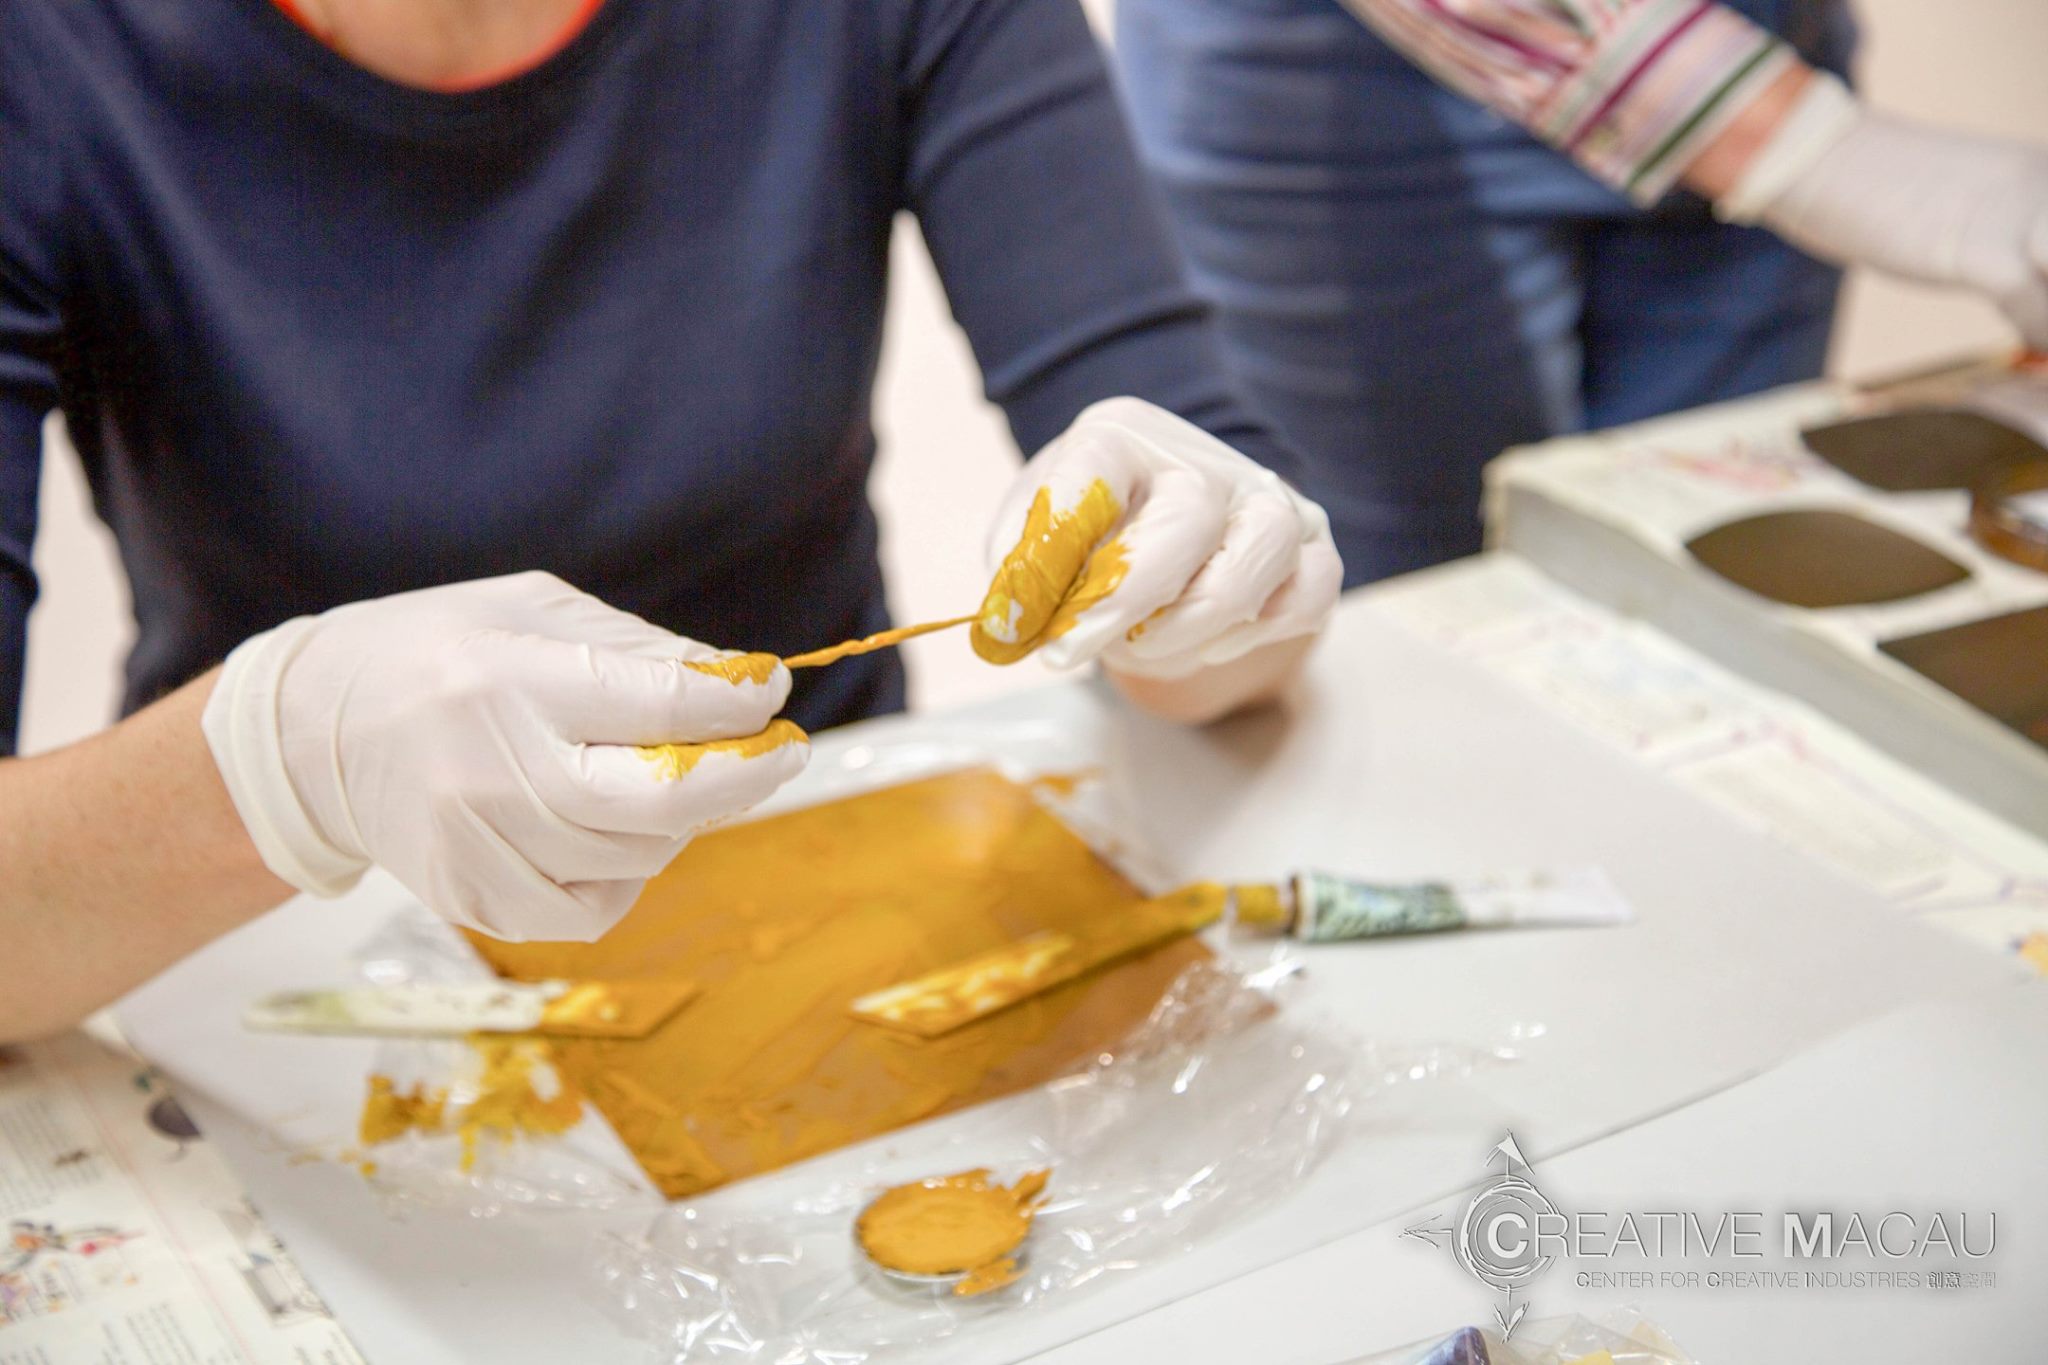
2.When you want to give colour to lacquer, you mix pigments (coloured minerals)
The lacquer prior to adding pigments is semi-translucent brown in color. that lights the collors , and that is how fuki-urushi is created.
Wood has a grain. If black or vermillion lacquer, which are made with pigments, is coated over and over again, the wood grain will become invisible. On the other hand, in the case where lacquer is in its original condition without pigments, because it is translucent, the wood grain can be seen through the layers of coatings. Thus, a fuki-urushi lacquerware is finished optimising the natural beauty of the materials.
3. prepare the pieces to harden in a paper box with a hot and humid environment. Please bring a paper or carton box , that covers your piece completely , (big enough for not touching it) and a hand towel to wet and keep the inside of the box moisturised .That box, will be your little ‘‘sauna’‘or ‘‘muro’’ to keep and protect your work until the end of the course.
day 2
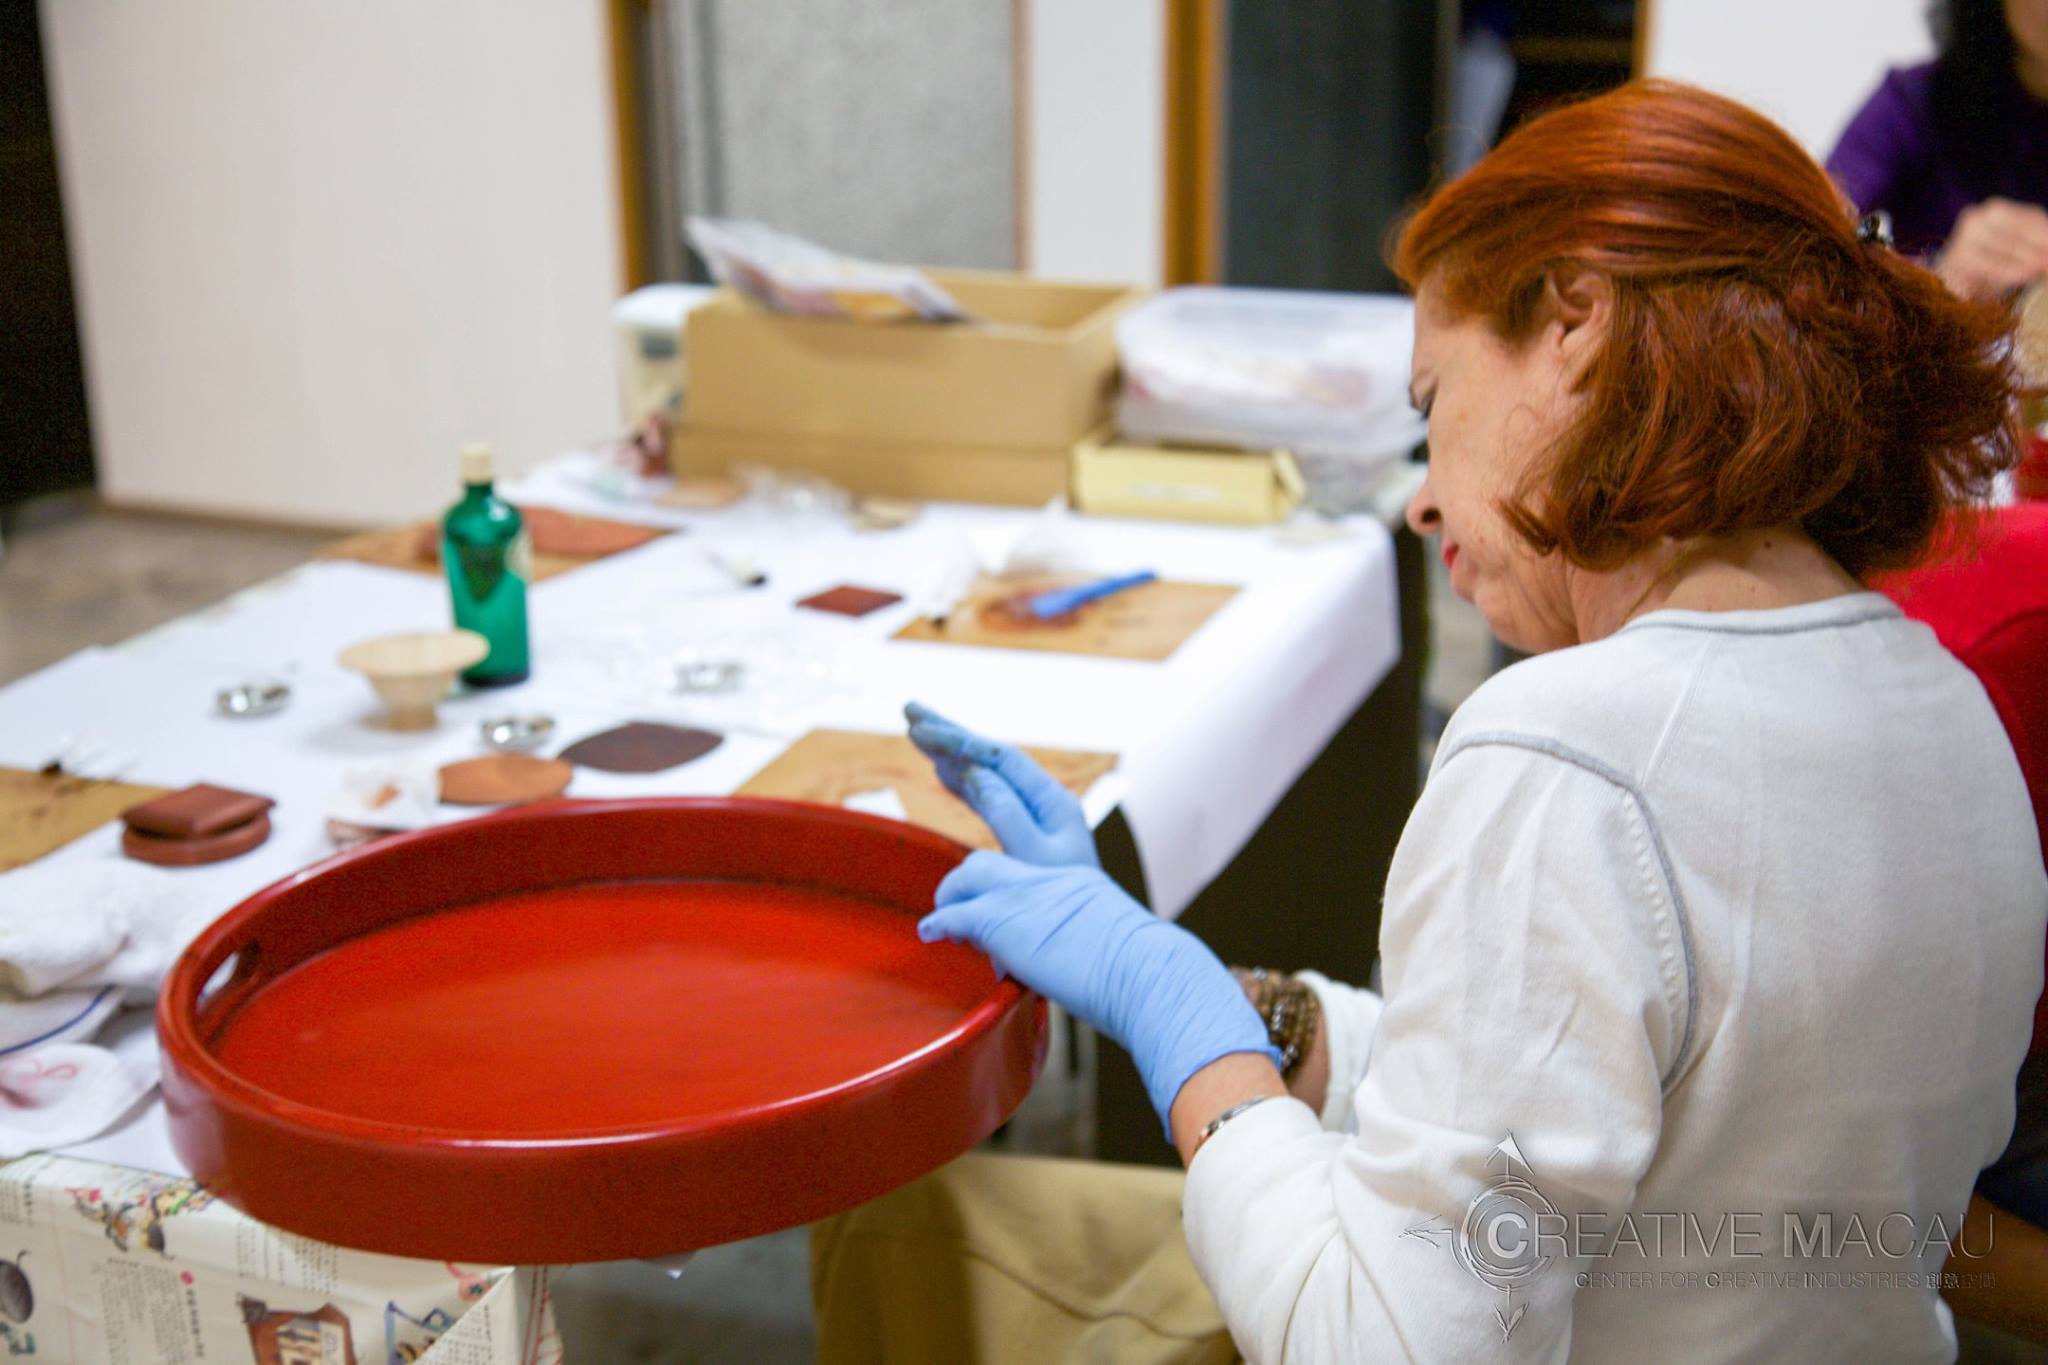
Finish and polish with sand paper, and cutters .This phase will be very important as will decide how detailed or perfect you can get for the final appearance of your work.
day 3
second painting finish and polish with sand paper, and fine charcoal abrasives .This phase will be very important as will decide how detailed or perfect you can get for the final appearance of your work.
day 4
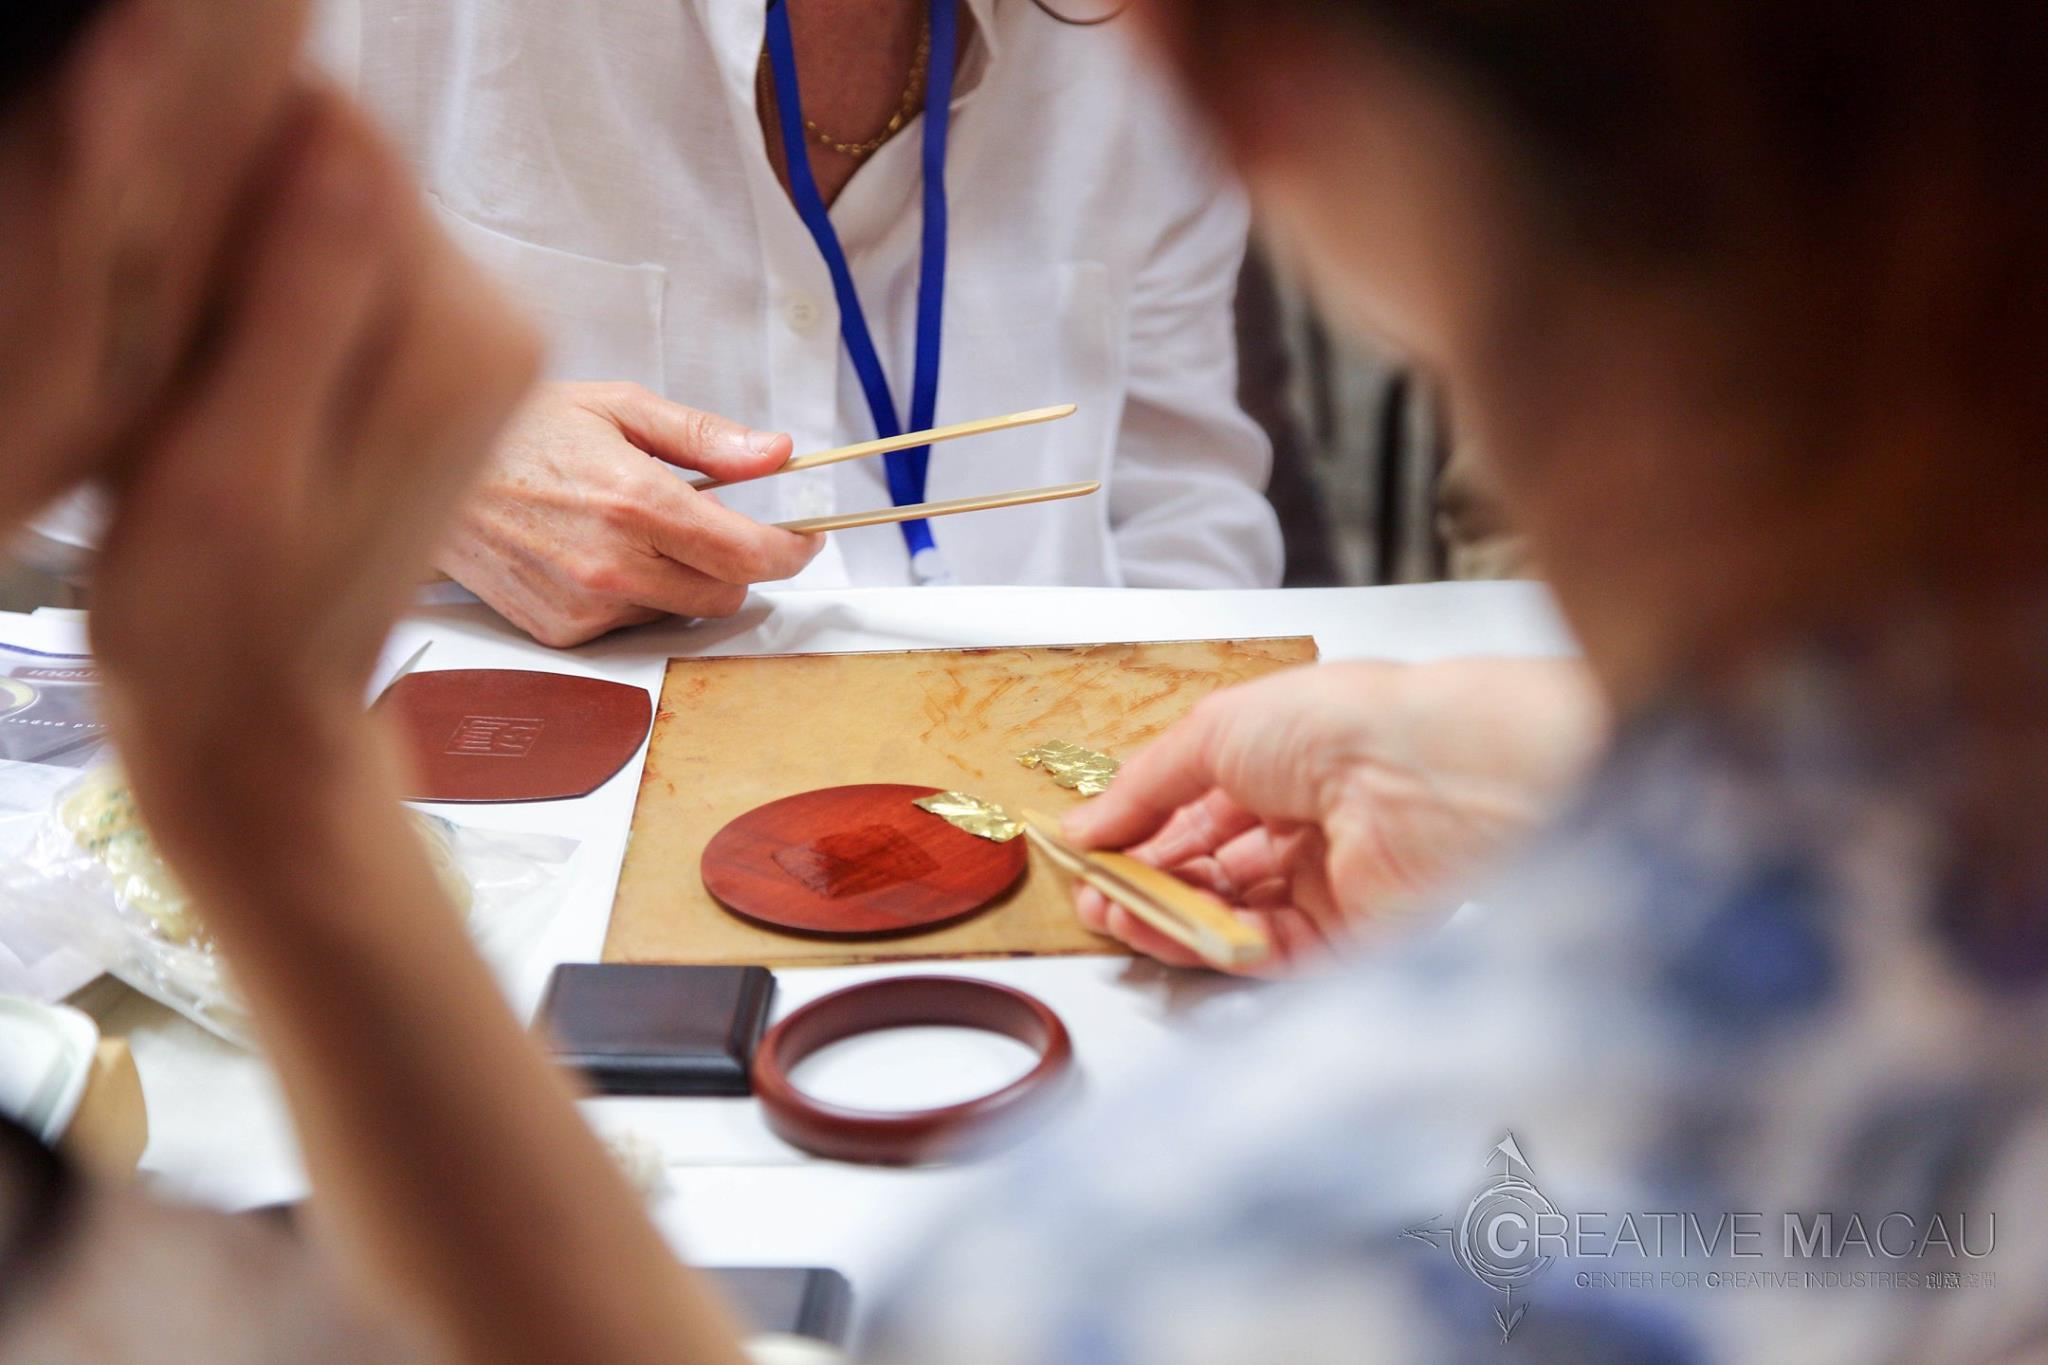
1.Final polishing .Uncovering the previous ‘‘paint’’ or mended areas with lacquer. Finally polish until desired results
As works are still to dry and harden please use the ‘‘muro’’ box to carefully transport your piece after the end of the course.